Free AI Image Upscaler Guide:How to Upscale Image Without Losing Quality
Free AI image upscaler workflow to upscale images without losing quality. Step-by-step tutorials for 6 tools to improve image resolution and boost clarity fast. 
A small, blurry image can look fine on a phone, then fall apart the moment you post it on a website, drop it into a slide deck, or try to print it. That is exactly where an AI image upscaler helps. Instead of stretching pixels, modern upscalers use AI to rebuild edges, textures, and tiny details so your image upscale looks sharper at a higher resolution.
In this guide, you will learn a simple workflow to upscale images cleanly, plus step by step instructions for 6 tools: EzRemove, Upscale.media, Remaker, Picsart, PhotoEditorAI.io, and ImgUpscaler.ai.
What "without losing quality" actually means
When people say "upscale without losing quality," they usually mean:
- No obvious blur after resizing
- No crunchy artifacts around edges, hair, text, or patterns
- No plastic skin or over sharpened halos
- Textures still look natural (fabric, wood, paper grain)
AI can often improve clarity and reduce artifacts, but it cannot truly recover details that never existed. The goal is to minimize visible damage while increasing size, and pick the right upscale factor so the result stays believable.
Picture upscaler workflow to upscale picture cleanly
Here is the workflow I use for almost every upscale picture task.
- Upload your image
- Choose an upscale level, start with 2x
- Let the AI process
- Inspect at 100% zoom
- Download, then test in the real place you will use it, web, print, product page, or deck
Upscaling picture checklist
When you are upscaling picture results, zoom in and scan these areas:
- edges, especially around faces, logos, and objects
- texture zones like hair, fabric, foliage
- gradients like sky and shadows for banding or blotches
- text, UI, and screenshots for legibility
If anything looks over processed, step back to 2x, or try a tool with lighter sharpening.
How to Upscale Images Step by Step With 6 AI Tools
With modern AI image upscaler tools, image upscaling has changed completely. Instead of simply stretching pixels, an AI upscaler uses deep learning to understand what the image should look like, detect patterns, textures, and edges, and then rebuild missing detail in a more natural way. That is why a good image upscaler can deliver a clean image upscale without the blurry, blocky artifacts you often see with traditional resizing. Below are the six best-performing tools I tested for real-world upscaling, each with its own strengths depending on your workflow.
Here’s a simple, easy-to-read comparison table for the 6 tools:
| Tool | Best for | Key strengths | Free credits / free access | Scenario coverage | Upscale options | Batch | Notes |
|---|---|---|---|---|---|---|---|
| EzRemove | Daily use and multi-scenario fixes | Natural results, simple UI, versatile modes | 20 free credits/day + extra bonus credits from daily check-ins | Upscale, Enhance, Text Enhance, Unblur, Old Photo Restore, Old Photo Colorize | 2x | No | Strong "free image upscaler" for regular use with multiple modes |
| Upscale.media | Quick upscaling and light testing | Fast, browser-based, minimal clicks | 3 free credits per month (after sign-up) + 1 free upscale per day without signing up | Mainly upscaling | 2x / 4x / 8x | Yes | Best when you need higher scaling levels quickly |
| Remaker AI | Batch workflows and advanced enhancement | Multiple modes plus batch upscaling | 30 credits on sign-up, plus extra daily credits | Upscale, Unblur, Portrait, Text Enhance, Old Photo tools | 2x | Yes | Better fit for heavier usage and paid workflows |
| Picsart | Upscale then keep editing | Beginner-friendly, strong editor | 5 credits/week | Upscale plus editing tools | 2x / 4x | Yes | HD downloads often require a plan |
| PhotoEditorAI.io | Prompt-based edits and creative workflows | Prompt-driven control, flexible outputs | Free to use | Upscale plus retouch, background, style | Prompt-driven | No | Flexible, depends on prompt quality |
| ImgUpscaler.ai | Small batches and HEIC support | Drag-and-drop, optional clarity control | Basic free access available | Mainly upscaling | 2x | Yes (up to 3) | Good for quick small batch jobs and iPhone photos |
(1) EzRemove
 If you want an image upscaler that is quick to learn and easy to use, EzRemove’s AI image upscaler is well worth trying. I tested it with an old, slightly faded photo, and the upscaled result looked noticeably clearer overall. Edges were cleaner, details appeared sharper, and the image still felt natural, without that harsh, overly sharpened look.
My favorite things about this tool are:
- You can get 20 free credits every day just by logging in, and daily check-ins can earn extra bonus credits. It feels like a truly free image upscaler option for regular use.
- The workflow is very simple: upload, upscale, download. Even first-time users can get started in minutes.
- The results look natural. This AI image upscaler improves clarity without the harsh, over-sharpened effect that many tools produce.
- It supports common image formats and works directly in your browser, so there’s nothing to install.
How to Upscale in EzRemove
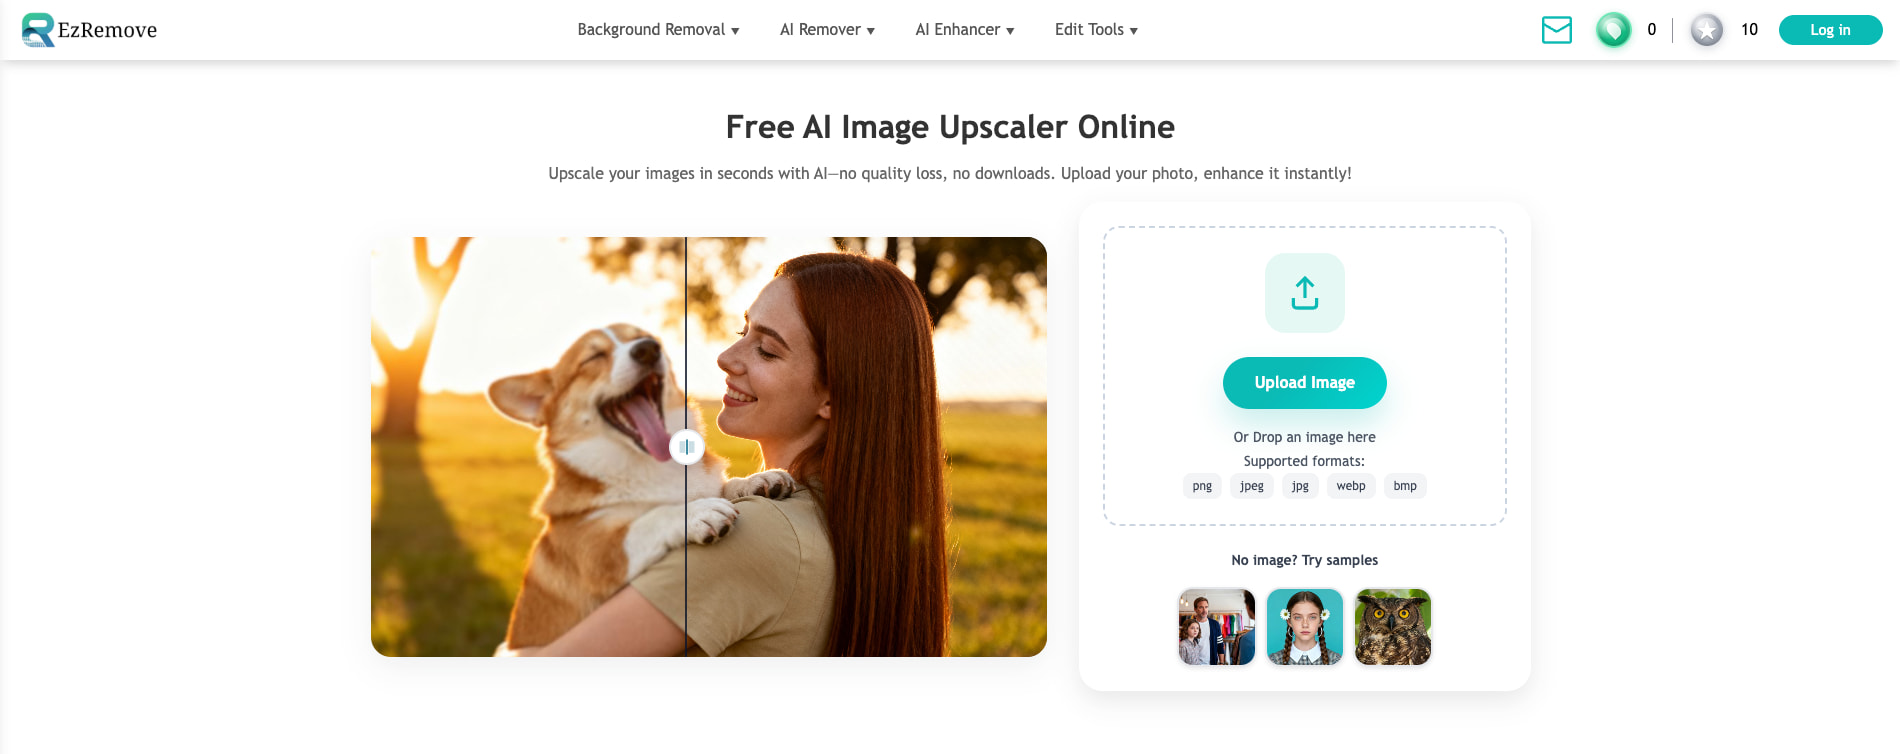
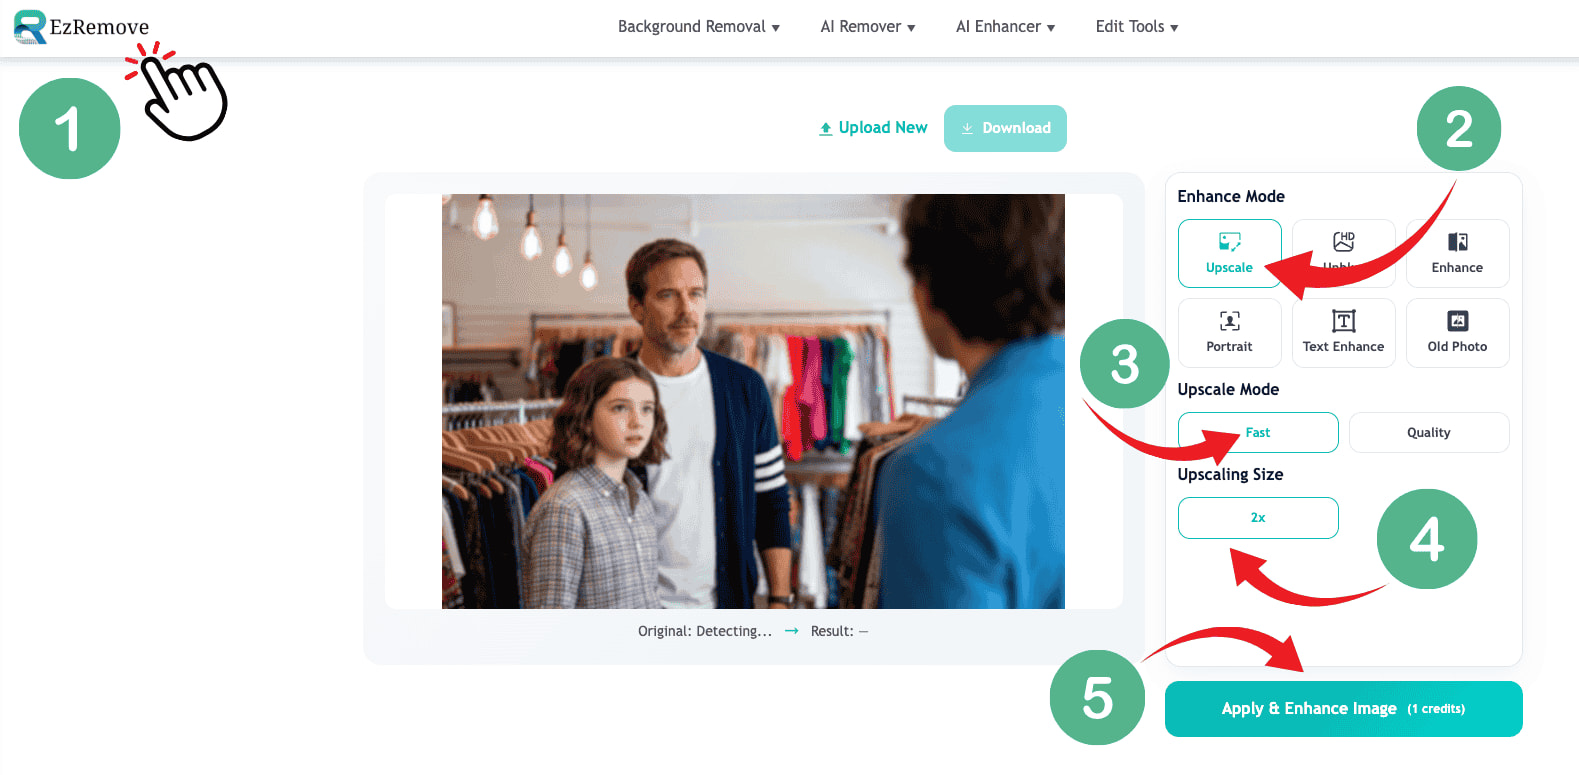
- Open EzRemove AI Image Upscaler, then click Upload New to add your image. It supports multiple image formats, such as PNG, JPG, WEBP, and BMP.
- In the right panel under Enhance Mode, choose Upscale.
- Under Upscale Mode, pick Fast for quicker results, or Quality for cleaner details.
- Under Upscaling Size, select 2x.
- Click Apply & Enhance Image to start processing. It will show the credit cost on the button.
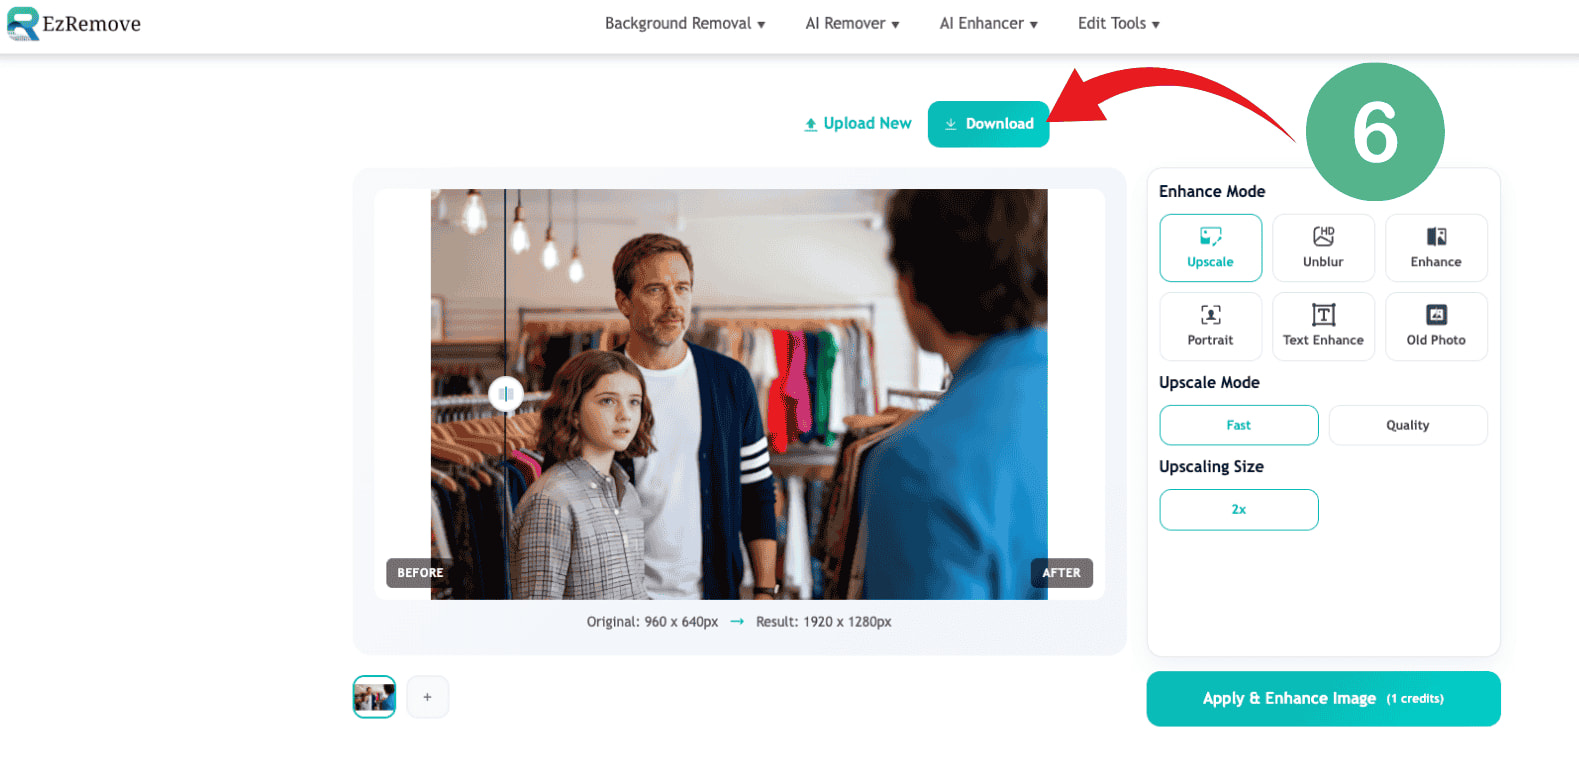
- When the result is ready, preview the before and after, then click Download to save the upscaled image.
 Best for: quick upscaling with clear mode options, simple 2x selection, and an easy apply and download flow.
(2) Upscale.media
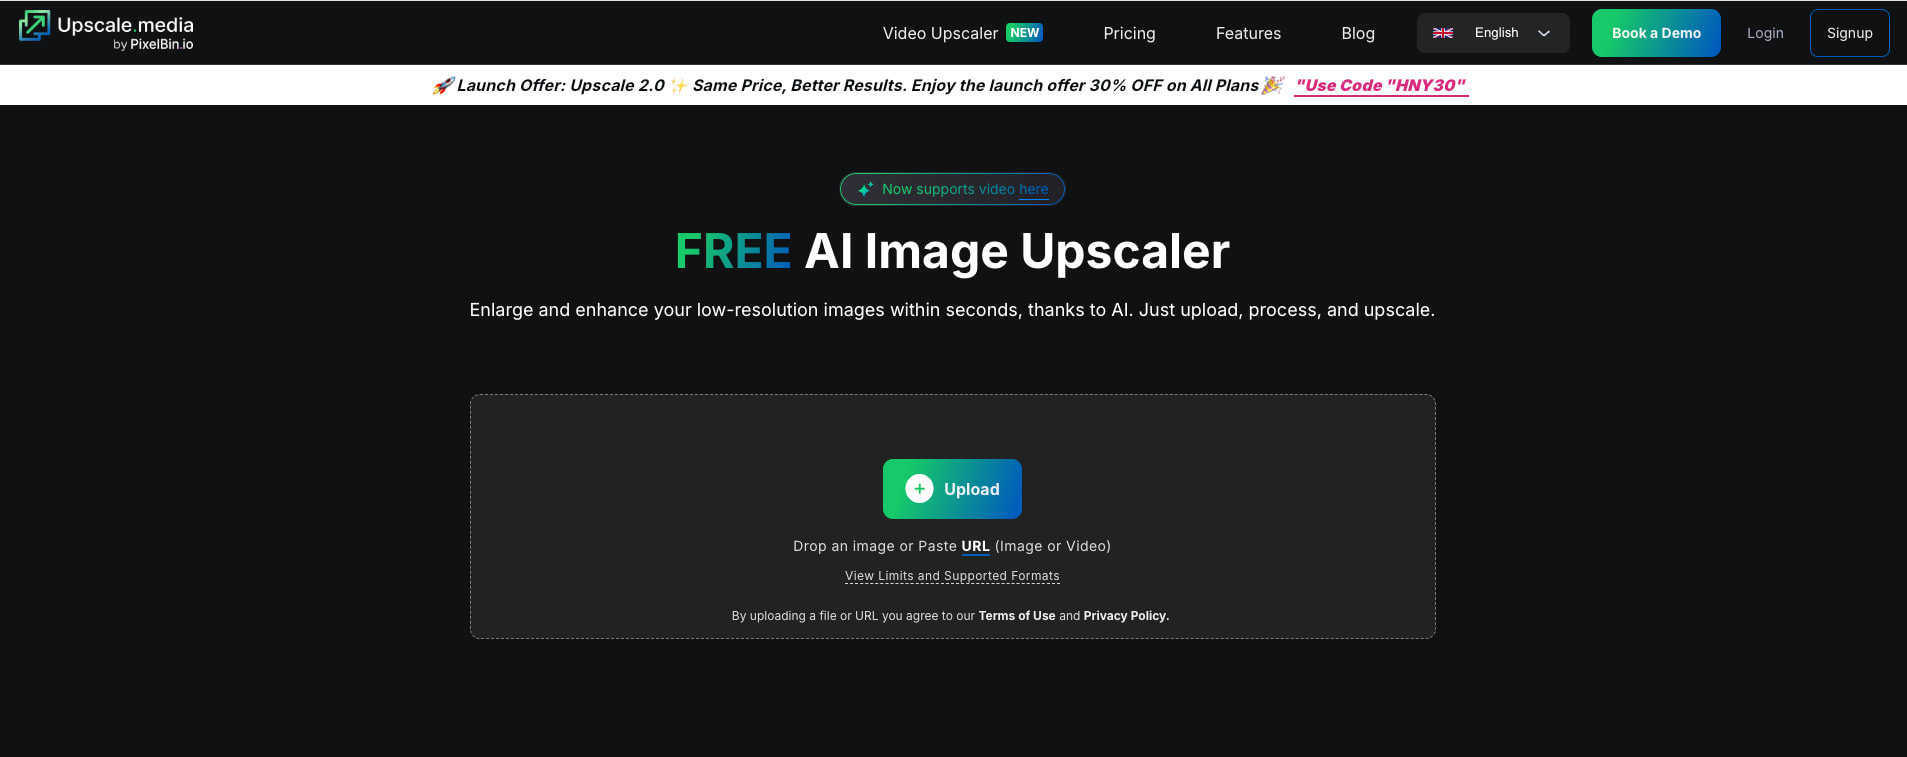 If you’re looking for a fast, free, and browser-based solution to upscale and enhance low-resolution images, Upscale.media’s AI image upscaler stands out as a solid choice. In my experience, its results are consistently sharp with preserved textures, and it works smoothly whether you are a beginner or a more advanced user. You can upscale up to 8x your original resolution, and the AI does a good job reconstructing detail while reducing blur and artifacts.
My favorite things about this tool are:
- You can use it for free online with no installation, no watermark, and no sign-up required — just upload and start upscaling right away.
- It offers flexible upscaling options like 2x, 4x, and even up to 8x, so you can choose the right level for social, web, or print use.
- The AI preserves details and textures well across various image types, reducing compression noise and keeping edges natural.
- Batch processing lets you upscale multiple images at once, which saves time when working on portfolios, product galleries, or social media sets.
How to Upscale in Upscale.media
- Open the Upscale.media homepage and click Upload Image to add your photo. It supports common formats such as PNG, JPG/JPEG, WEBP, and HEIC.
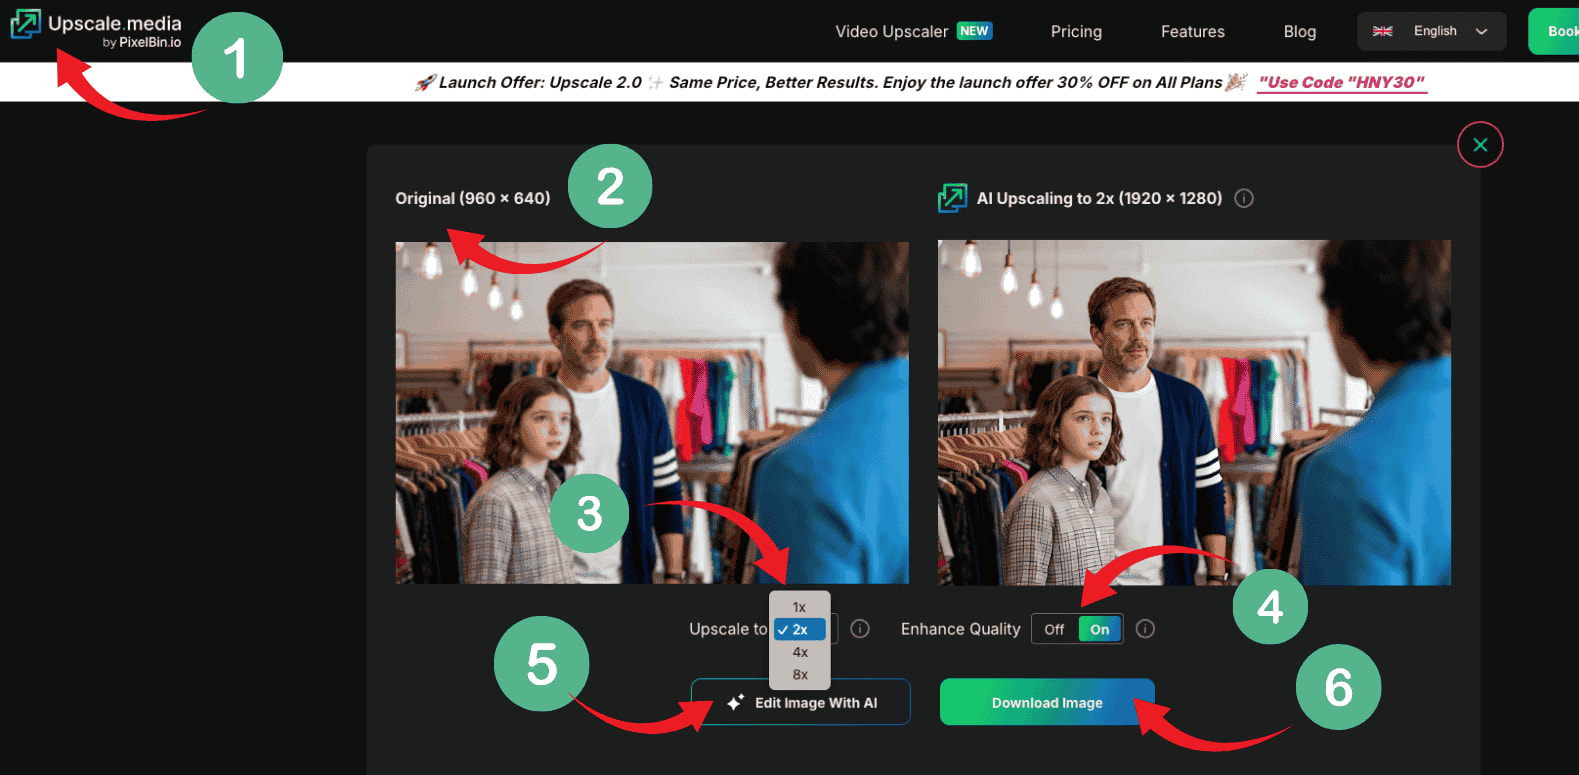
- After uploading, the AI will start processing automatically and prepare a preview.
- Choose your upscale level, such as 2x, 4x, or 8x, depending on how large you need the final image.
- (Optional) Enable or disable enhancement options if available, depending on whether you want a more natural look or stronger sharpening.
- Click Edit Image with AI, then review the generated result to check edges, textures, and overall clarity.
- Click Download Image to save the upscaled version to your device.
 Best for: instant, no-signup upscaling with flexible 2x–8x options and a fast drag-and-drop workflow that works entirely in your browser.
(3) Remaker.ai
 Remaker AI is an AI image upscaler that keeps the workflow simple while offering more control than a one-click tool. It is especially handy when you want to upscale and also fix blur, portraits, text, or old photos in the same workspace.
My favorite things about this tool are:
- It offers multiple enhancement modes in one place (Upscale, Unblur, Portrait, Text Enhance, and more), so you can choose the right fix for each image.
- You can switch between Fast and Quality to balance speed and cleaner detail.
- The 2x scale option is beginner-friendly and helps keep results natural.
- It supports common upload formats like JPG, PNG, and WEBP.
How to Upscale in Remaker
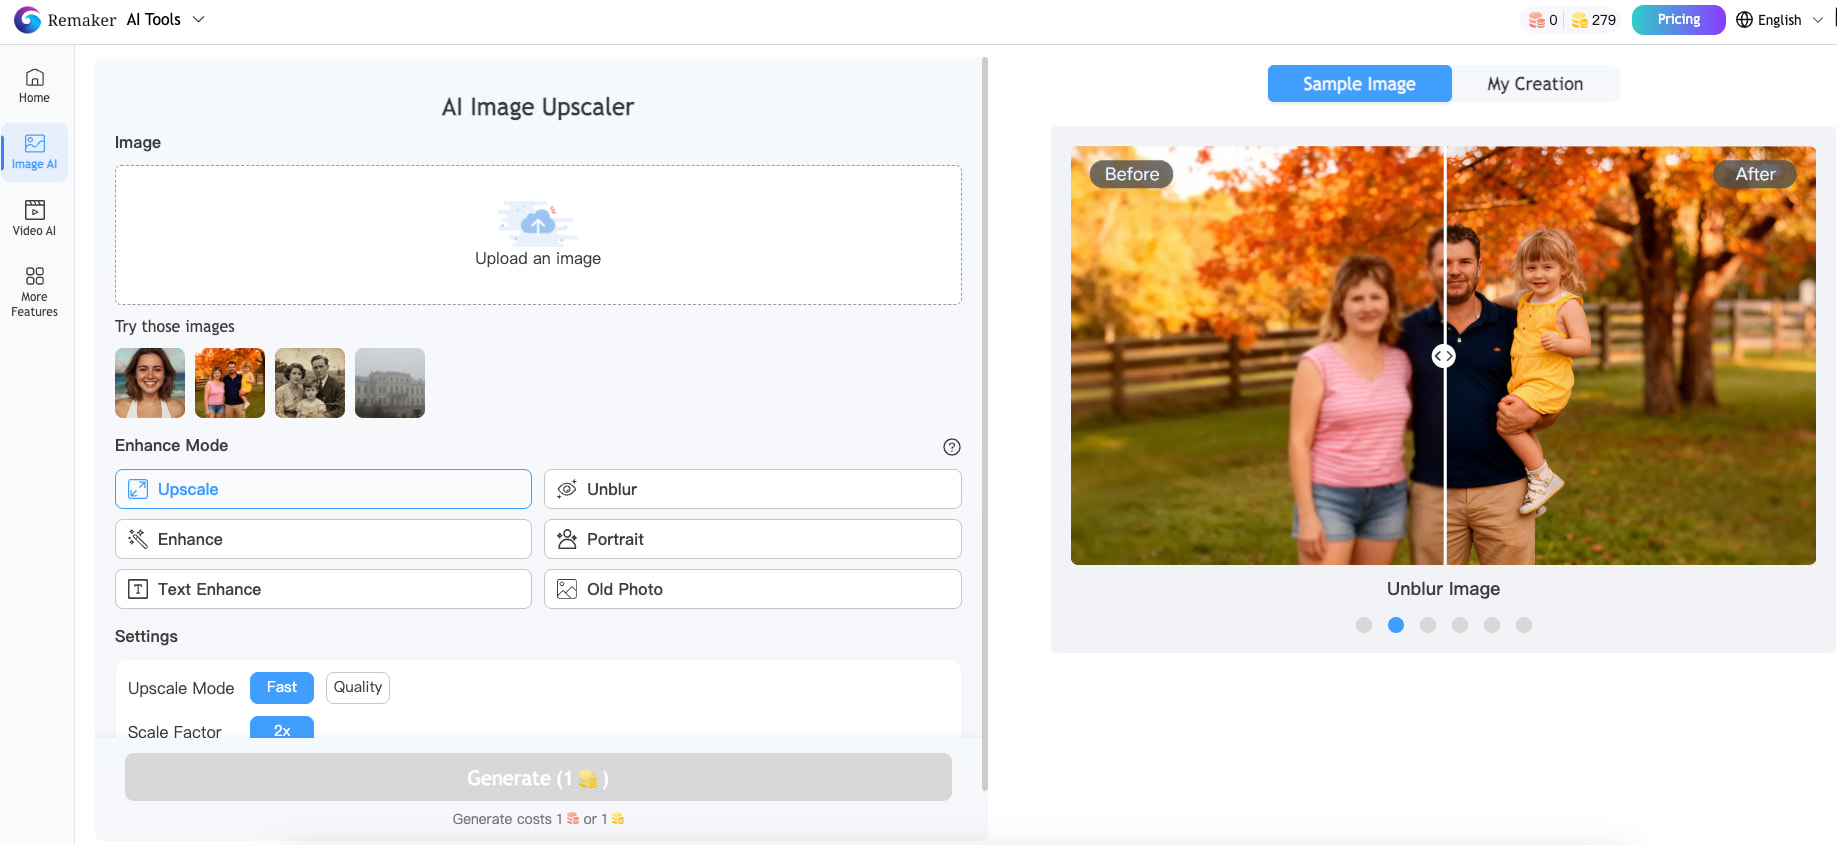
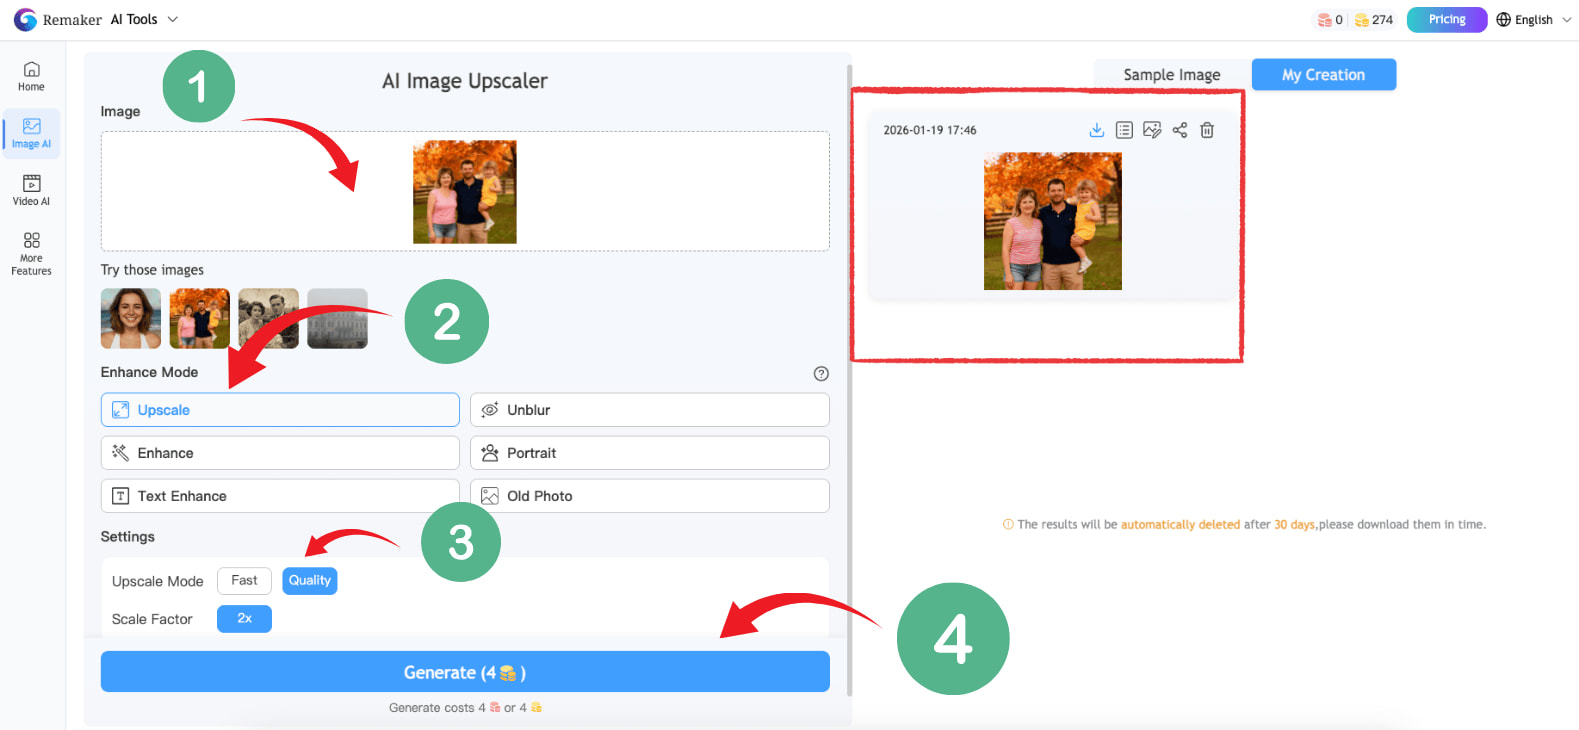
- Open Remaker AI Image Upscaler, then upload your image. It supports formats like JPG, PNG, and WEBP.
- Under Enhance Mode, choose Upscale.
- Under Settings, choose an Upscale Mode (Fast for quicker results or Quality for cleaner details), then set the scale to 2x.
- Click Generate to start processing, then preview the result and download when you are satisfied.
 Best for: upscaling plus extra enhancement modes in the same workspace, with Fast or Quality control and an easy 2x scale option.
(4) Picsart
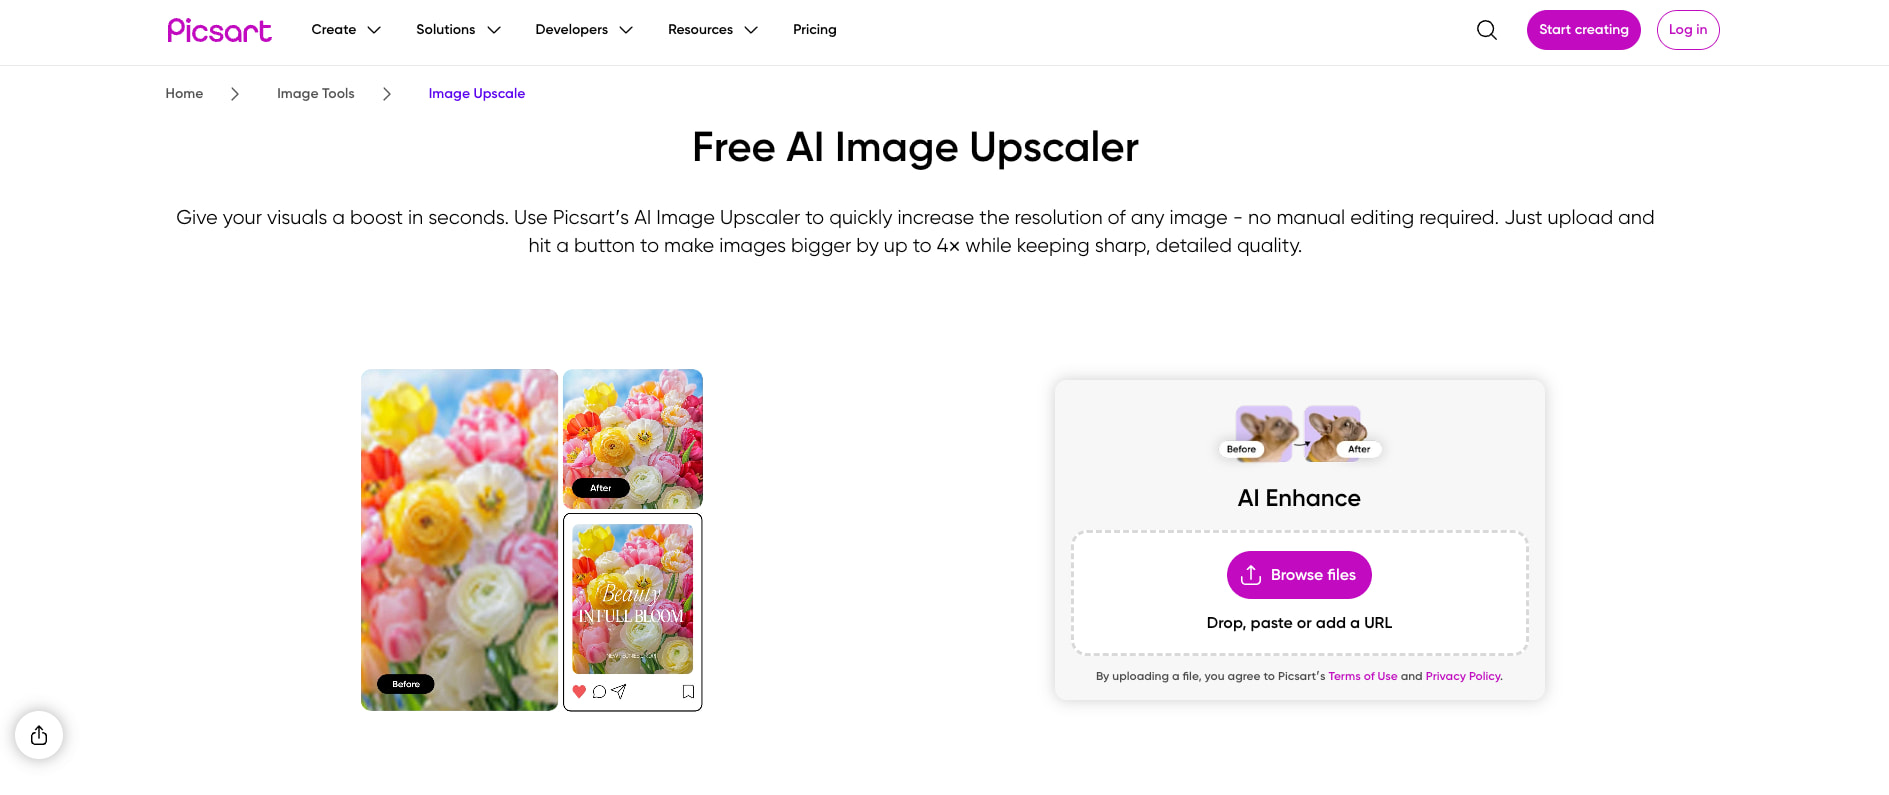 Picsart’s AI image upscaler is a great pick when you want a smooth, beginner-friendly upscale workflow, plus the option to keep editing your image afterward. What I like most is that Picsart is very clear about what you can expect. It highlights practical limits and gives simple guidance on choosing 2x vs 4x so your results stay natural.
My favorite things about this tool are:
- It is transparent about constraints. The upscaled image cannot exceed 4096px, so you know the ceiling upfront.
- It gives realistic advice for low-res photos. If your image is very low resolution, Picsart suggests trying 2x instead of 4x to preserve textures and details.
- You can download a free low-resolution result, and upgrade to high-resolution downloads with Picsart Plus when needed.
- It supports upscaling multiple images at once, which is handy for small batches.
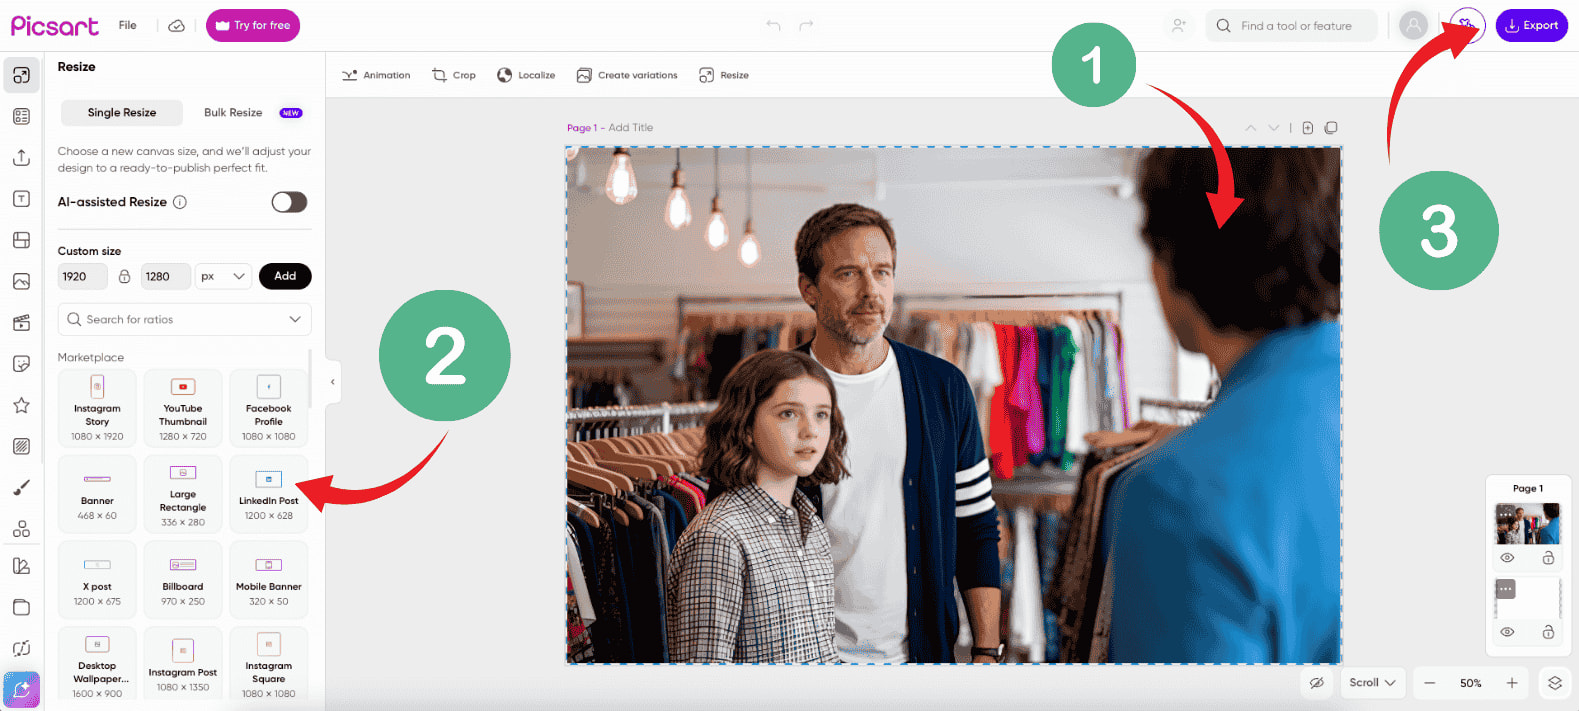
How to Upscale in Picsart
- Open the Picsart Image Upscaler page and click Browse files to upload your image.
- After you upload, you can adjust the pixel size to match the marketplace requirements you need, then let the AI upscale automatically.
- Download the free low-resolution version, or upgrade for a high-resolution file. You can also continue editing with Picsart tools if you want.
 Best for: a quick one-off upscale with clear limits, and an easy path into further editing.
(5) PhotoEditorAI.io
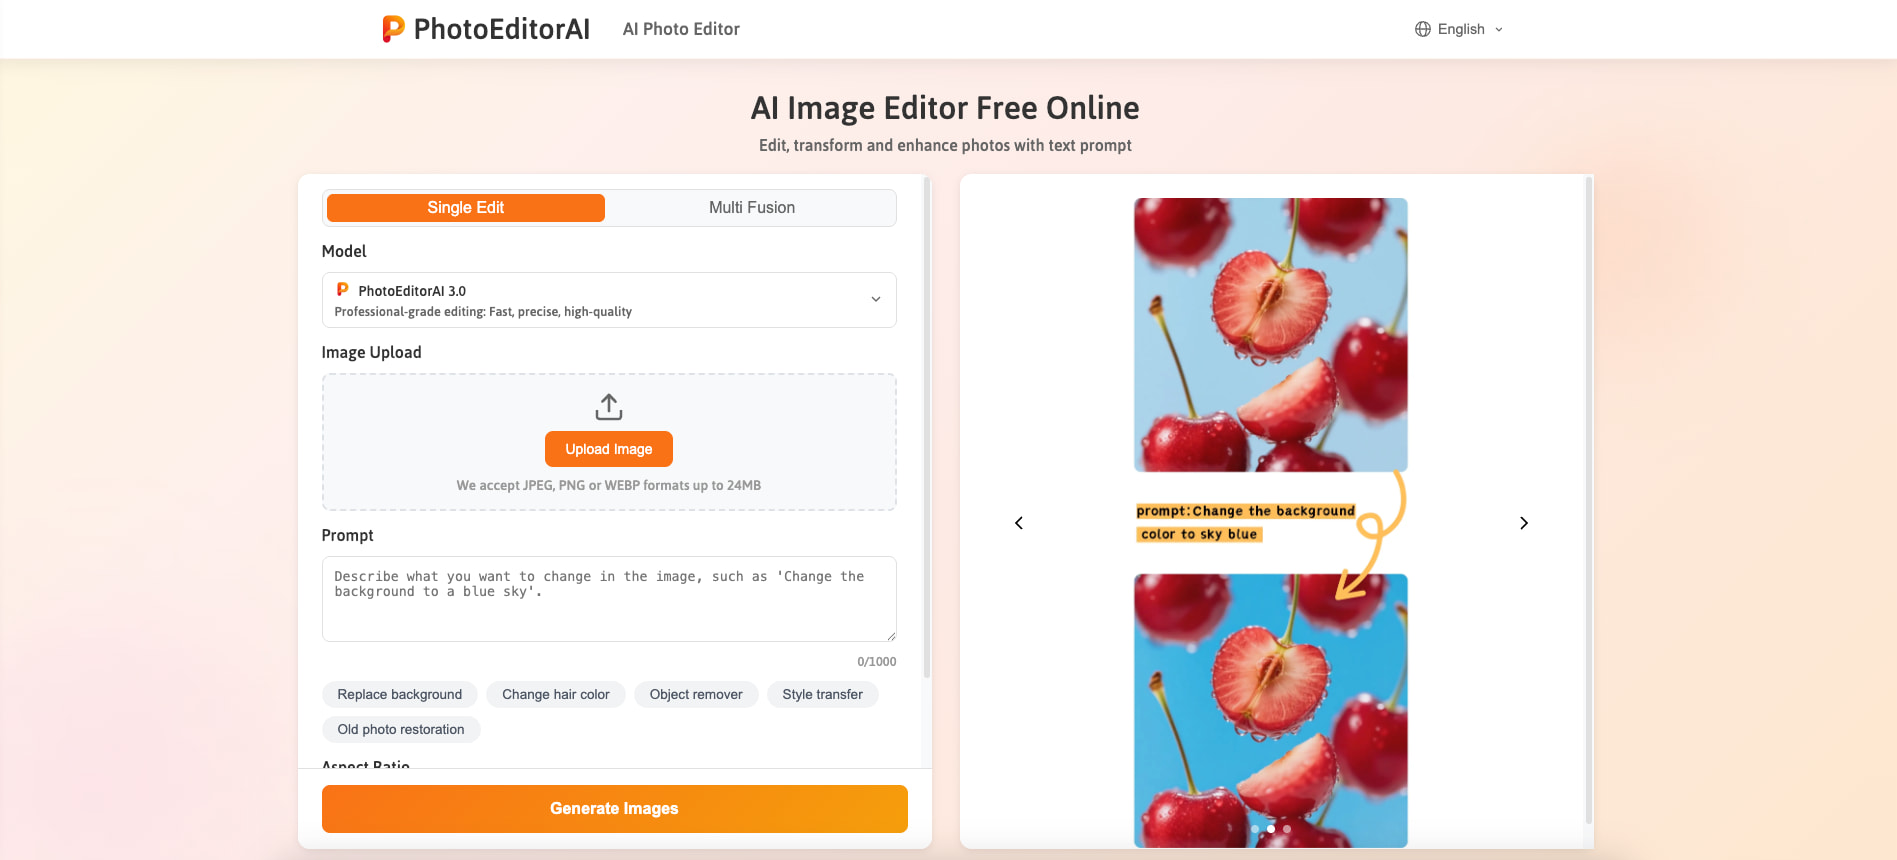 PhotoEditorAI takes a different approach from most image upscalers. Instead of relying on fixed 2x or 4x buttons, it uses text prompts to guide the AI. That means you are not limited to "just" enlarging an image. You can upscale and refine the look at the same time, whether that means softening noise, keeping textures natural, or preparing an image for further creative edits.
My favorite things about this tool are:
- It is prompt-driven, so you can describe exactly how you want the upscale to look instead of relying on preset modes.
- You can combine upscaling with other edits in one step, such as retouching, background changes, or style adjustments.
- It supports common formats like JPEG, PNG, and WEBP, with uploads up to 24MB.
- The workflow feels flexible and creative rather than mechanical.
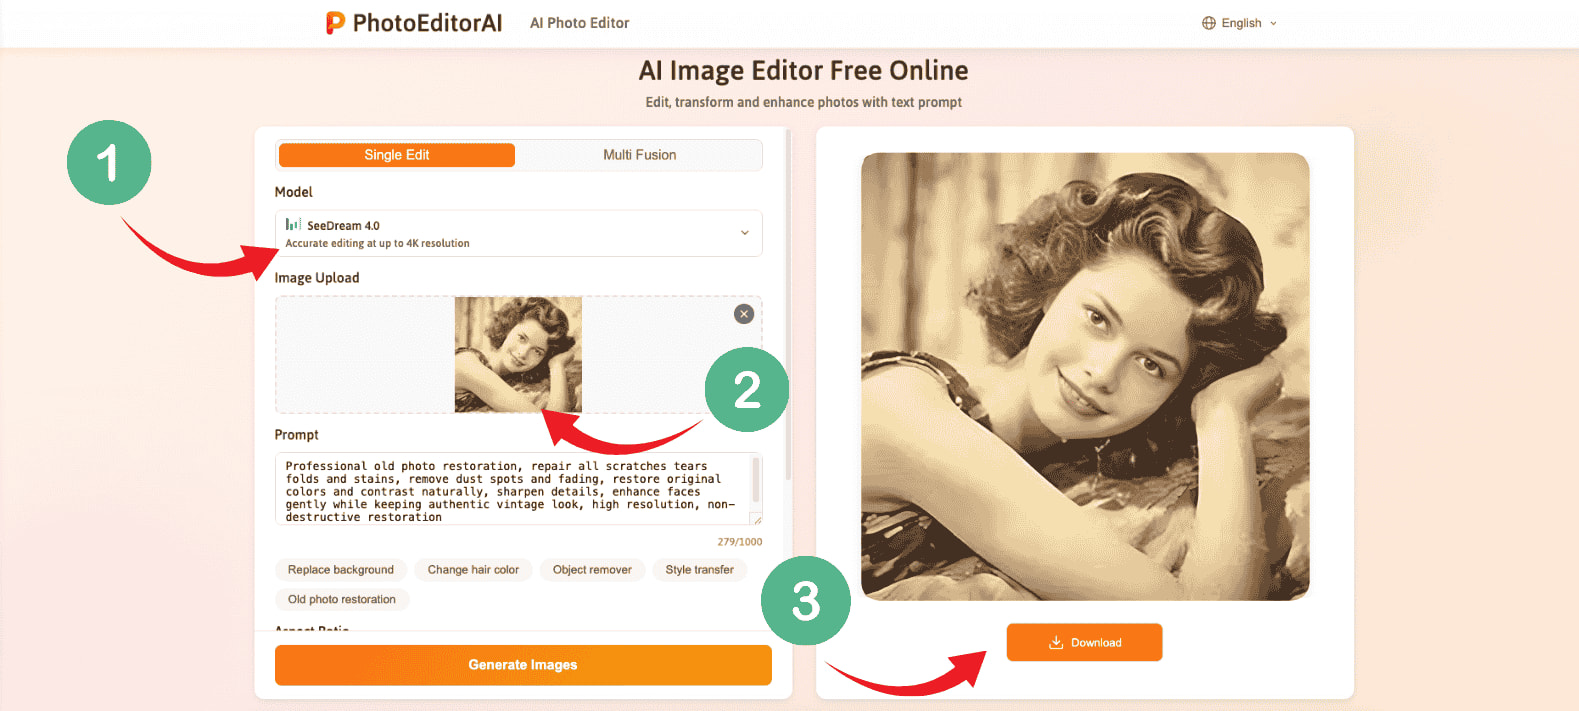
How to Upscale in PhotoEditorAI
- Select a model, then upload your image (JPEG, PNG, or WEBP, up to 24MB).
- In the prompt box, describe the result you want. For example:"Upscale this image to a higher resolution, keep textures natural, reduce noise slightly, and avoid over-sharpening."
- Click Generate, preview the result, then download.
 Best for: users who want more than a basic upscale, especially when you also need retouching, background changes, or creative edits in a single prompt-based workflow.
(6) ImgUpscaler.ai
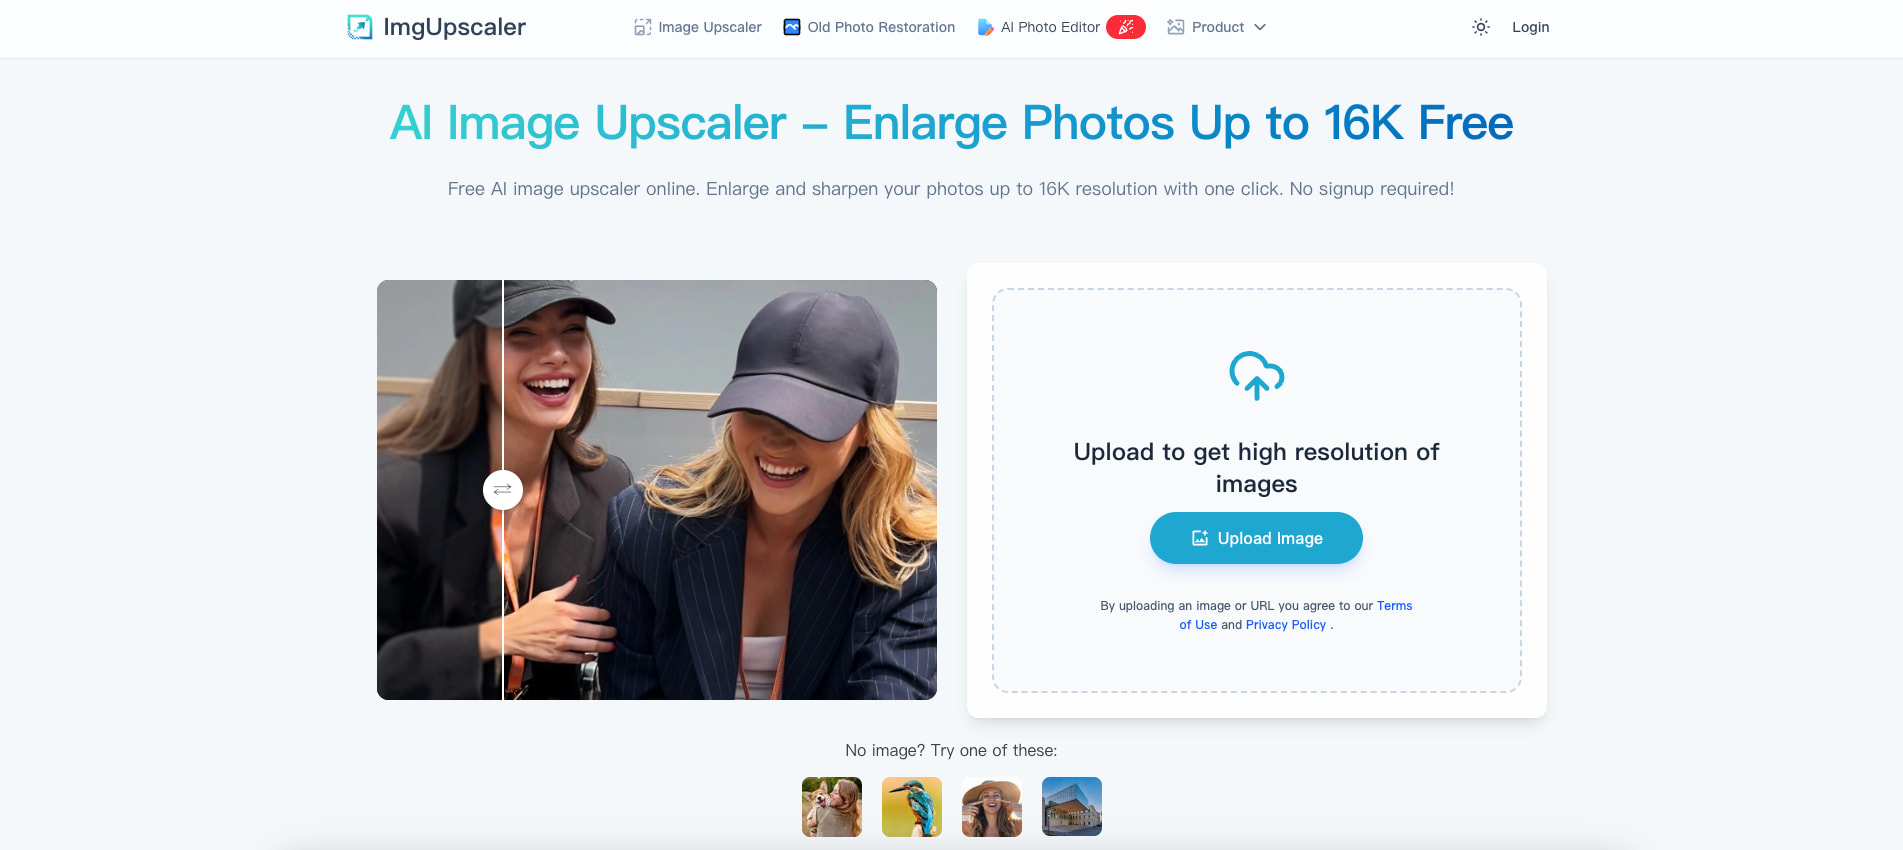 ImgUpscaler.ai is built for speed and light batch work. What stands out is how clearly it guides you through the process and how easy it is to handle multiple files at once. You can drag and drop up to three images in one go, making it a practical choice when you have a small set of photos to upscale quickly. It also supports HEIC, which is especially useful for images coming straight from iPhones.
My favorite things about this tool are:
- It allows batch uploads of up to three images, saving time on small jobs.
- You can drag and drop files in common formats like JPG, PNG, WEBP, and HEIC.
- The AI starts upscaling automatically, with no extra setup required.
- An optional clarity control lets you fine-tune sharpness to avoid an over-processed look.
How to Upscale in ImgUpscaler.ai
- Click Upscale Image and upload JPG, PNG, WEBP, or HEIC files. You can add up to three images at once.
- Let the AI begin upscaling automatically. The tool can enlarge images up to 2x without extra clicks.
- Download your upscaled images.
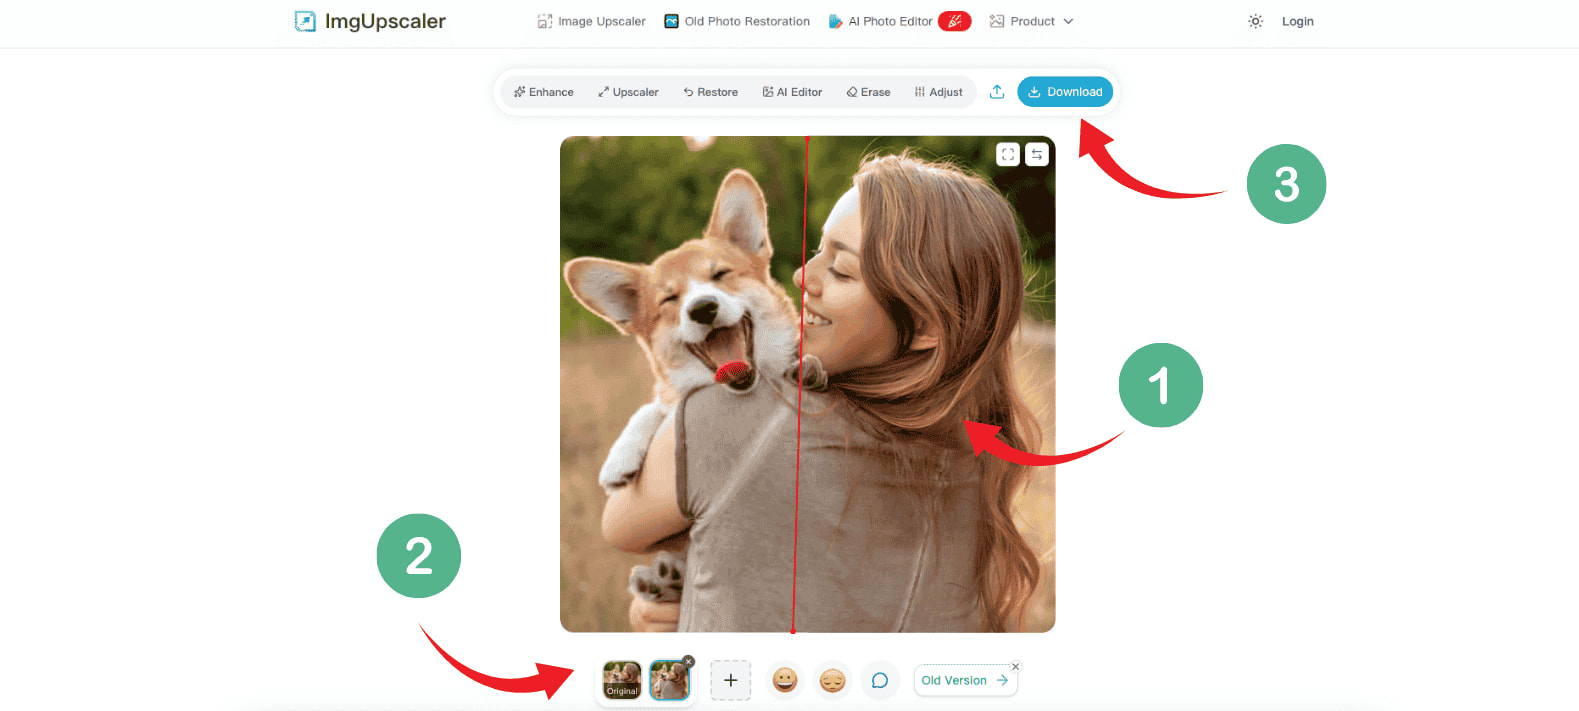 Best for: small batch workflows, HEIC support, and users who want simple upscaling with optional control over sharpness.
Final thoughts
Image upscaling is all about getting a cleaner, sharper result while keeping the photo looking real. With the right AI image upscaler, you can do an image upscale in minutes, even if you have zero editing experience.
After testing the six options in this guide, EzRemove is the image upscaler I would recommend most often. It delivers natural detail without the harsh, over-processed look, and the daily credits make it feel like a practical free image upscaler for regular use. If you want a reliable AI upscaler that stays simple and consistent, EzRemove is an easy first pick.