Skip to content
What Is an AI Photo Studio? The Essential Guide to Better Images
You do not need a full photoshoot every time an image needs a cleaner background, a wider crop, sharper detail, or a different setting. An AI Photo Studio workspace for creating, editing, enhancing, and cleaning up images brings those jobs into one browser-based flow. It can be a practical answer for a store owner with uneven supplier shots, a marketer adapting one asset for several placements, or a creator refining a portrait before publishing.
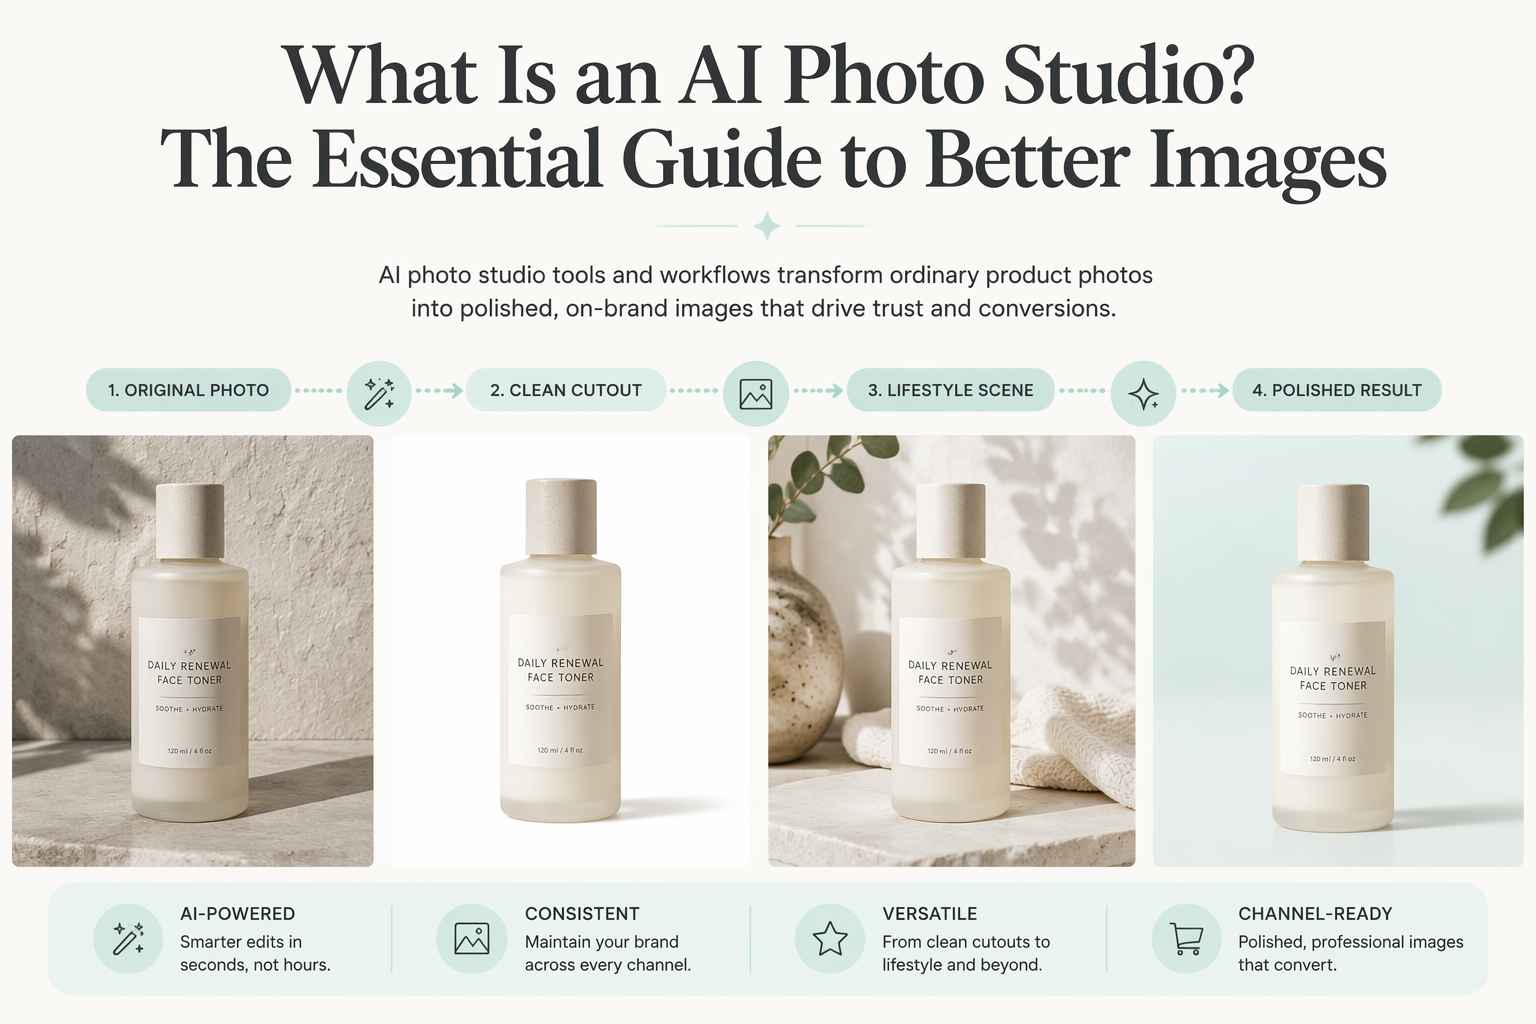
The important distinction is that an AI Photo Studio is not simply an image generator with a new label. It is a workspace that helps you move from an idea or existing photo to a usable visual: create when no source image exists, edit what is already there, remove distractions, change a background, extend a crop, improve clarity, and review the result for its final channel. This guide explains where that workflow helps, where it does not, and how to make sound choices without treating every image task as the same problem.
The Simple Definition. What It Is Not
An AI Photo Studio is a digital workspace that uses AI-assisted creation and editing tools to produce, revise, and prepare images for a specific use. Instead of switching between a generator, a background-removal tool, an upscaler, and a conventional editor, the user works through connected image tasks in one place. The output might be a product listing image, social creative, a professional headshot, a banner, or an early campaign concept.
That definition matters because "AI photography" can mean several different things. Some services generate portraits from reference photos. Some create product scenes from a cutout. Others improve an existing photograph. An AI Photo Studio can include all three, but it should be chosen for the job at hand rather than assumed to replace a camera, a photographer, or brand judgment. It is strongest when the asset already has a clear purpose and the team can describe what must change.
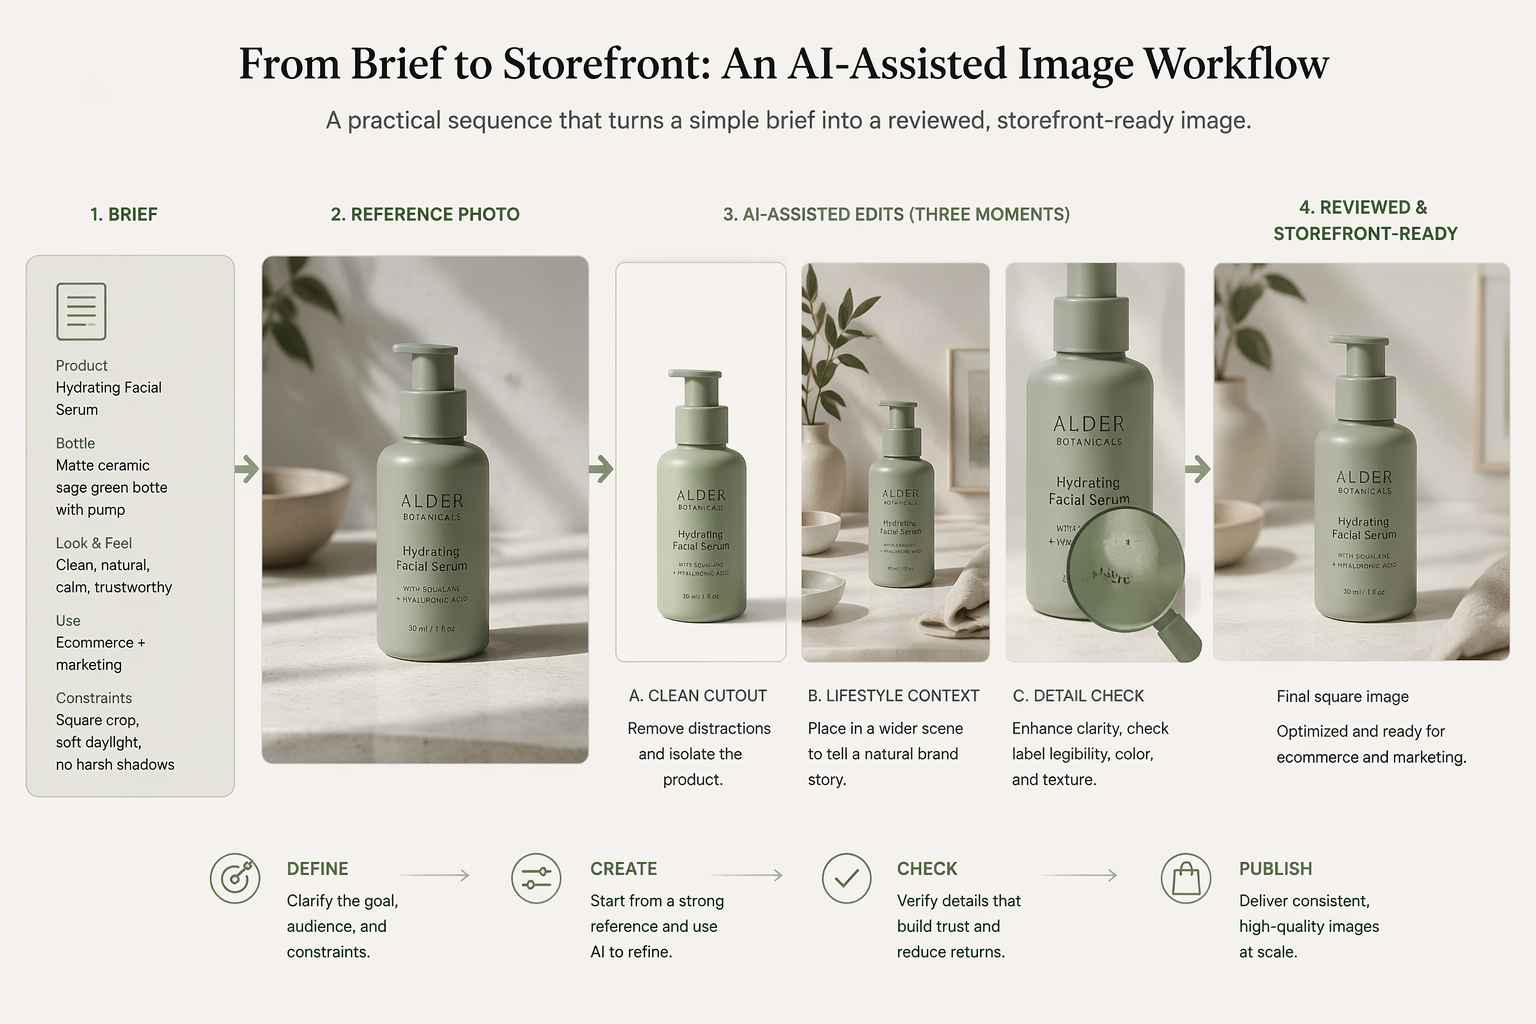
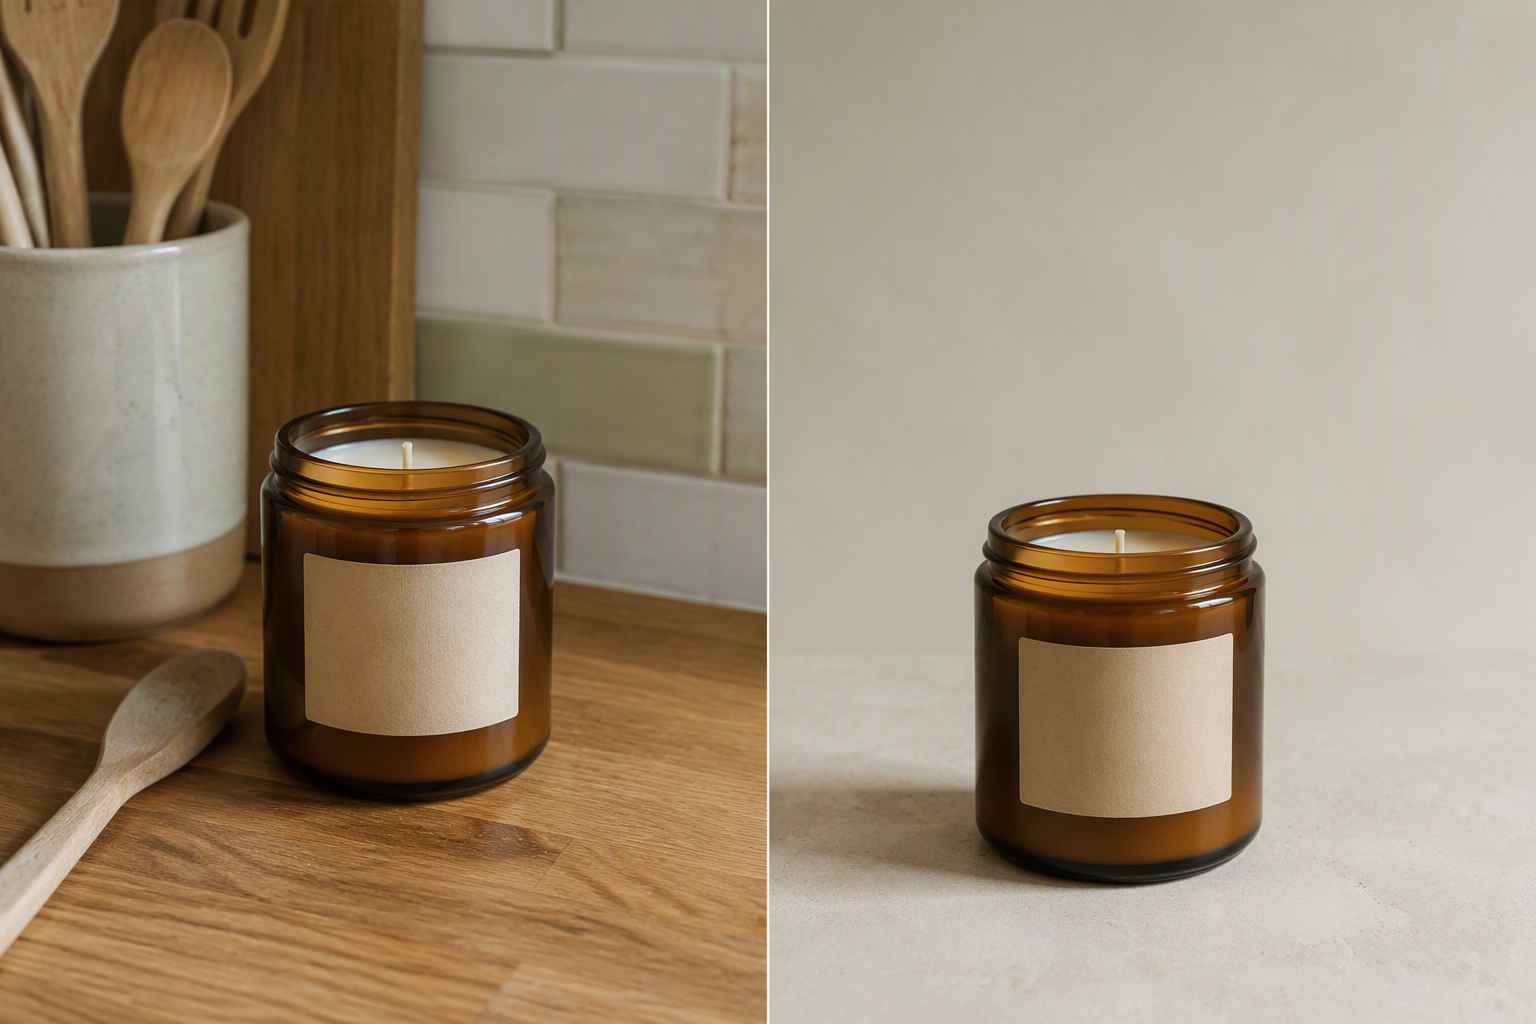
For example, a candle seller may have a good product photograph but a busy kitchen behind it. The task is not to invent a new candle. It is to isolate the product, place it in a fitting scene, preserve label details, and export a crop that works on a storefront. A different task, creating an editorial campaign image from a mood direction, starts with a written brief and needs several rounds of visual selection. The same workspace can support both, but the inputs and quality checks are different.
How an AI Photo Studio Turns an Input into a Finished Asset
Most AI Photo Studio workflows begin with one of two inputs: a prompt or a source image. A prompt is useful when you are exploring a concept, while an upload is useful when the product, person, composition, or brand element must remain recognizable. The better you state the intended channel, subject, setting, crop, and non-negotiable details, the easier it is to evaluate the result.
The next step is transformation. Depending on the task, that may mean generating a first image, removing a background, replacing a setting, erasing a stray object, expanding the frame, or increasing apparent clarity. These tools do not all solve the same problem. Background removal protects the subject from a distracting setting; expansion creates room for a banner or text-safe area; enhancement can help a low-resolution source look more usable. Applying several tools automatically is not always better. Each change introduces another point where shape, texture, or identity can drift.
Finally, the image needs review and delivery. A polished result at thumbnail size may reveal distorted lettering, extra fingers, an altered logo, or inconsistent edges when opened larger. Before downloading, compare the output with the source and inspect the image at the size where it will actually appear. An AI Photo Studio shortens the production loop, but it does not eliminate the human decision about which version is credible enough to publish.
| Stage | Main question | Useful output | Watch for |
|---|---|---|---|
| Brief | What must this image do? | Channel, crop, subject, visual direction | A vague request that cannot be judged |
| Input | Should you start from text or a photo? | Prompt or reference asset | Missing product or identity details |
| Transform | What is the smallest useful edit? | A controlled variation | Changing too many variables at once |
| Review | Is it accurate and fit for channel? | Approved final candidate | Artifacts visible at real display size |
| Deliver | Which file and crop are needed? | Export ready for use | Reusing one crop everywhere |
What an AI Photo Studio Can Do Well
An AI Photo Studio is especially useful for repeatable, bounded image work. Product teams can start with a clean subject and create a white-background listing image, a lifestyle variation, and a social crop without reshooting the same item. Marketers can prepare a hero visual, a banner crop, and an ad variation when the original framing is too tight. Creators can clean a portrait, simplify the setting, or improve a composition that is otherwise ready to use.
The common thread is not “make any image.” It is controlled adaptation. If the source photo is recognizable and the request is specific, AI can reduce routine manual work. A good brief might say: keep the bottle label unchanged; remove the countertop clutter; place the product on pale stone; leave open space on the right for a headline; make a 4:5 version for a social feed. Those constraints give the AI Photo Studio a result you can compare against the request.
It also helps teams test visual directions before committing to a larger production. A small business can explore whether a clean studio scene or an outdoor lifestyle image better fits a seasonal campaign. A designer can extend a vertical image into a horizontal banner while preserving the subject placement. In both cases, the responsible use is to treat outputs as candidates: select them against brand rules, accessibility needs, platform specifications, and audience expectations.
For stores that need to turn simple product assets into channel-ready variants, this guide to using an AI product image generator for e-commerce is a useful next step. It focuses on the more specific question of preparing product visuals for listings and storefronts, rather than asking one general workspace to solve every merchandising decision.
Where It Needs a Human Editor, or a Real Shoot
Speed is not the same as accuracy. An AI Photo Studio is a weaker fit when the image is evidence, when every factual detail must be exact, or when a real event and real people need to be documented. A restaurant photograph that promises a particular portion, a medical image, a legal record, or a news image should not be casually generated or materially altered. The same caution applies to items with tiny logos, serial numbers, intricate patterns, or products whose finish is the main reason someone buys them.
Even commercial images need boundaries. AI may subtly change a garment seam, duplicate an earring, smooth away a texture, or create an attractive background that conflicts with the product’s actual size or color. Portrait work can also change a person’s likeness in ways they would not approve. Get permission for reference photos, use images you have the right to edit, and be clear when a visual is illustrative rather than documentary. If a result will influence a buyer’s expectation, the review standard should be higher than “it looks good in a feed.”
Traditional photography still wins when the exact object, environment, lighting behavior, or moment is the deliverable. A well-planned shoot can provide trustworthy source material that an AI Photo Studio later adapts into crops and variations. Think of the tools as complementary: photography captures the ground truth; AI helps prepare, revise, and extend approved assets. That framing prevents a false choice between expensive production and careless automation.
Choose Tools by the Image Problem, Not the Trend
The fastest path is to name the visible problem before opening a tool. If the background is the issue, remove or replace it. If the crop is the issue, expand the canvas. If a distracting object is the issue, erase it and inspect the surrounding texture. If the asset is too soft for its placement, enhance it carefully and check whether details stay believable. A single AI Photo Studio can make this handoff easier because these tasks live in one workflow, but the tool choice should follow the problem.
Use this decision rule: make the smallest edit that lets the image do its job. A clean product photo rarely needs a wholly new generated scene. A portrait that only needs more headroom does not need a new face. A banner that needs a different ratio may need expansion, not a redesign. Small, deliberate edits are easier to review, easier to revise, and less likely to create an output that looks polished but no longer represents the source.
| If you need to… | Start with | Quality check |
|---|---|---|
| Isolate a product or person | Background removal | Inspect hair, transparent edges, and product contours |
| Make a flat image feel contextual | Background replacement | Check scale, shadows, and contact with the surface |
| Fit a new placement | Image expansion | Look for repeated patterns and believable continuation |
| Remove a distraction | Object cleanup | Zoom into the repaired area and surrounding texture |
| Improve an undersized source | Upscaling or enhancement | Check labels, skin texture, and fine edges |
| Explore a concept from scratch | Prompt-based generation | Check consistency with the written creative brief |
When the problem becomes broader photo editing rather than a single production task, readers can compare approaches in Best AI Photo Editor 2026. The useful question is not which tool has the longest feature list; it is which workflow keeps the required details intact with the least rework.
A Practical First Project: From Raw Image to Publishable Visual
Start your first AI Photo Studio project with an asset that has a clear, low-risk goal. A product photo with a cluttered background, a portrait with awkward framing, or a social image that needs a new crop works better than a campaign with many unapproved variables. Set the channel and success criteria first: for example, “a 4:5 image for a product post, the label must remain legible, and the subject needs open space above it.”
Then make one change at a time. Upload the source, duplicate it if the workspace allows, and begin with the edit that removes the largest obstacle. If the setting is busy, create a clean cutout first. If the crop is too tight, add breathing room before changing the background. Review after every meaningful step instead of waiting until several transformations have accumulated. This makes it easier to identify which edit created a problem and to return to the strongest version.
Your final review should happen in context. View a product result beside the listing images it will join. View a portrait at the small size used in a profile. View an ad crop where the platform will place its controls or headline. Check that text is readable, human features are believable, edges are clean, and the final image still says what the brief required. An AI Photo Studio becomes genuinely useful when this review loop is faster, not when it is skipped.
Prompt and Reference Choices That Improve the First Result
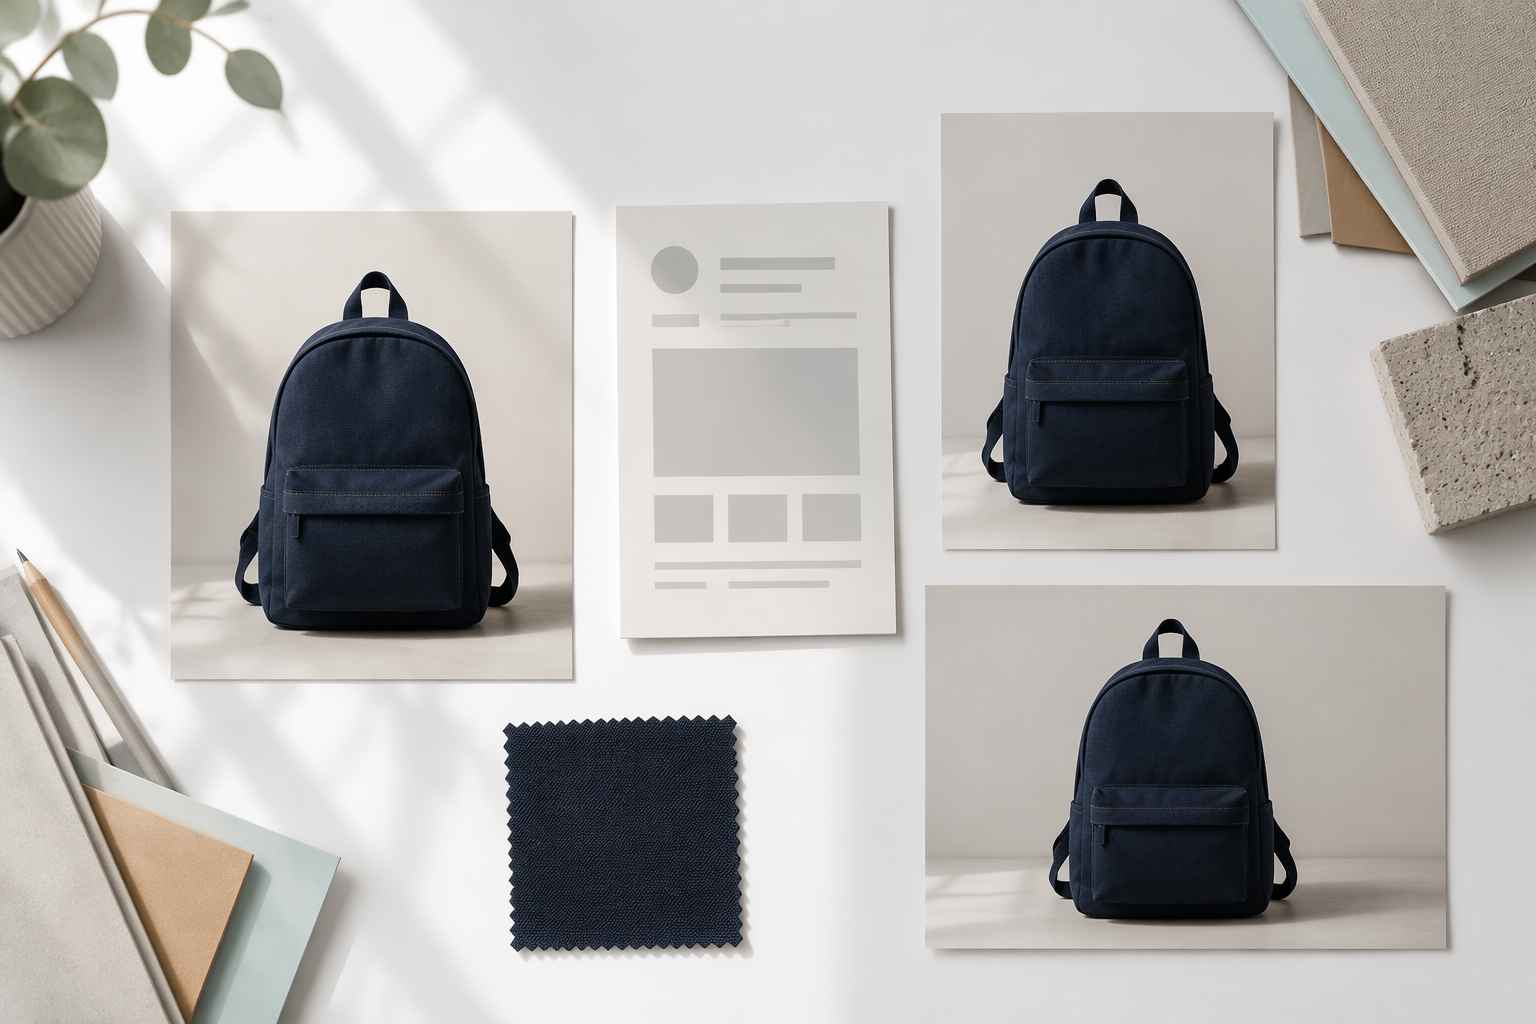
When you start from a prompt, write it as a concise creative brief instead of a string of trendy adjectives. State the subject first, then the setting, camera perspective or crop, lighting, palette, and intended use. Add restrictions only when they protect a real requirement: “one navy backpack, front three-quarter view, warm window light, neutral studio surface, vertical 4:5 composition, no text or logos.” This gives an AI Photo Studio a criterion for selection rather than an invitation to generate endless variations.
When you start from photos, choose references that make the required details visible. Product images should show the label, shape, material, and key angles clearly. Portrait references should be recent, well lit, and supplied with the person’s permission. Do not expect a tiny, compressed image to preserve details it never captured. In that case, use enhancement for a modest improvement or obtain a better original; do not promise precision that the source cannot support.
Consistency deserves as much attention as beauty. Save the successful prompt ingredients, background direction, crop, and review notes so a later image can match the first. For a series of listing images, use the same visual rules and compare candidates side by side. A visually striking one-off can still be the wrong choice if it makes a product grid, creator feed, or campaign feel incoherent.
What to Check Before You Publish
Before publishing, ask whether the image is accurate enough for its role. For a product, compare color, material, proportions, label placement, and included accessories with the real item. For a person, check likeness, consent, and whether the styling could be mistaken for a real event. For a marketing visual, check the crop at the final placement and make sure the image does not suggest a feature, setting, or outcome the business cannot support.
A short review list can prevent the most common misses: inspect details at full size; inspect the image at the actual delivery size; look for repeating textures, clipped edges, strange shadows, altered lettering, and duplicated objects; then compare it against the original brief. If feedback says “it feels off,” name the specific condition: background scale, edge quality, facial likeness, product detail, or crop. Then generate another variation. Specific feedback produces a more useful next attempt. This is the point where an AI Photo Studio should support judgment, rather than ask the team to trust an attractive first draft.
Keep a simple record of approved references and prompts for recurring work. That is particularly helpful when several people contribute to a campaign or product catalog. It does not need to be a heavy production system: a folder with the source, final export, prompt notes, and channel name is enough to make later updates more consistent. An AI Photo Studio helps teams move faster only if it also makes approved choices easier to repeat.
Is an AI Photo Studio Right for You?
Choose an AI Photo Studio if you repeatedly need to create or improve ordinary business images but do not need every job to become a full production. It is a particularly good fit for ecommerce sellers preparing cleaner listings, marketers adapting assets across channels, creators refining content, and small teams that want to reduce routine image handoffs. Start with a narrow task, set a visible review standard, and expand the workflow only after the first results are reliable. For many teams, an AI Photo Studio is most valuable as a repeatable finishing workflow, not as a replacement for every creative decision.
If you need an exact record of a real object, person, event, or condition, capture or commission that reality first. Then use AI carefully for legitimate follow-up edits such as crop adaptation, background cleanup, and asset preparation. For the everyday tasks in between, EzRemove’s AI Photo Studio for creating, editing, enhancing, removing backgrounds, expanding images, and cleaning up distractions provides one practical place to begin, review, refine, and export a usable visual.
Frequently Asked Questions
Is an AI photo studio the same as a photo editor?
Not exactly. A photo editor primarily changes an existing image, while an AI Photo Studio can support a broader workflow. It may help you create images from prompts, remove or replace backgrounds, expand a crop, enhance image quality, erase unwanted objects, and prepare different versions for specific channels. A photo editor may be enough for a single adjustment, while an AI Photo Studio is more useful when several connected image tasks need to happen in one place.
Can an AI photo studio replace a professional photographer?
An AI Photo Studio can reduce routine reshoots and help teams create new variations from approved images, but it cannot replace professional photography in every situation. A real shoot is still important when you need an accurate record of a product, person, location, event, texture, or lighting condition. A practical approach is to capture trustworthy source material first, then use AI to clean up backgrounds, adjust crops, create channel-specific variations, or explore additional visual directions.
What is the best first use case for an AI photo studio?
Start with a simple task that has a clear result you can review. Good first projects include removing a cluttered background, creating more space for a banner headline, cleaning up a product image, changing a social-media crop, or improving a portrait’s framing. These controlled tasks make it easier to compare the result with the original and identify which edits the workflow handles reliably.
What types of images can I create with an AI photo studio?
An AI Photo Studio can help prepare product listing images, lifestyle product scenes, social-media graphics, website banners, profile pictures, professional portraits, campaign concepts, and other everyday marketing assets. You can start from an existing photo when the subject must remain recognizable, or begin with a text prompt when you are exploring a new concept. The best method depends on how accurately the final image must preserve a real product, person, or brand detail.
How can I get consistent results from an AI photo studio?
Use clear source images and define the subject, setting, crop, lighting, palette, and intended channel before generating or editing. Keep important details visible in reference photos, and make one meaningful change at a time. For a series of images, reuse the same prompt structure, background direction, aspect ratios, and approved references. Compare results side by side and check that product shape, colors, labels, facial features, lighting, and visual style remain consistent before publishing.